AE Crossmember Spacer Installation guide
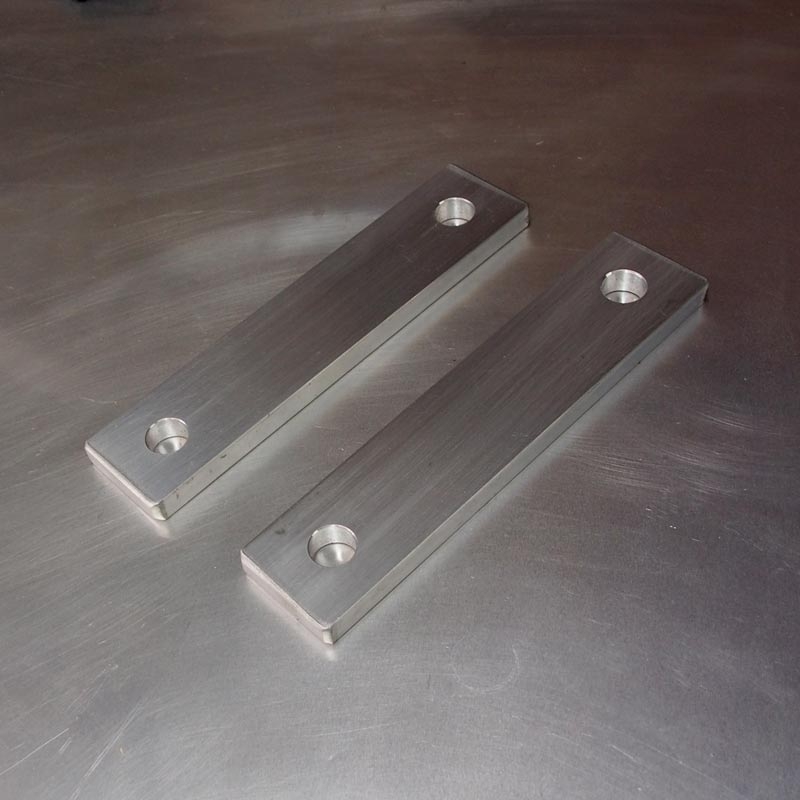
These spacers are designed to fit between the engine crossmember and the bottom of the sub-frame on each side. The crossmember uses x4 bolts with matching nuts (x2 per side).
Preparation
– To install these spacers the engine crossmember needs to be lowered, this requires the front of the vehicle to be off the ground. It may help with access to remove the front wheels. If a Jack is used then secure the front up on Jack stands, the stands can’t be placed from any point that’s part of the engine crossmember or front suspension. A good place is under the Caster Rod brackets that are located on each of the front corners of the sub-frame / bottom outer edges of the radiator support panel.
– In the engine bay loosen the bolt that clamps the universal joint from the steering shaft onto the spline that protrudes from the steering rack.
– From under the car loosen all x4 of the crossmember to sub-frame bolts so that only half of the threads on each nut is engaged to it’s matching bolt. This should open up a gap of about 15mm between the crossmember and the sub-frame. Note: since that the bottom outer edge of the sub-frame has a lip that hangs down this gap isn’t visible when viewed from inside the wheel well.It can be best seen from inside the engine bay at the bottom outer edges.
Installation and Reassembly
– Doing one side at a time support the end of the crossmember next to the Bolts / nuts with a Jack. This is to stop the crossmember from dropping down once the bolts / nuts are completely undone.
– With one side supported undo the x2 nuts and fully remove both bolts.
– From inside the engine bay slide one of the spacers between crossmember and sub-frame.
– From top-down look down the holes that the bolts came out of to line up with the holes in the spacers.
– Refit the bolts, partially wind the nuts back on to the same point with half of the threads engaged.
– Move the Jack to the other side and repeat all steps.
– With both spacers installed, full tighten all four of the crossmember nuts back up.
– Re-tighten the bolt for the Universal joint.